![]()
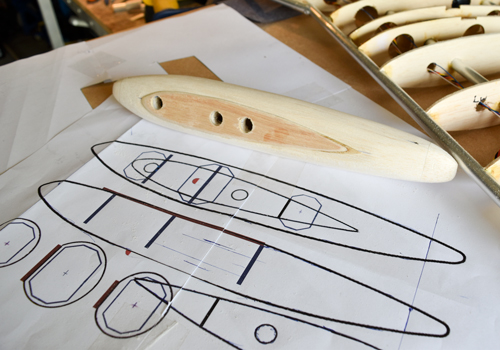
WINGS - PLY RIBS______________
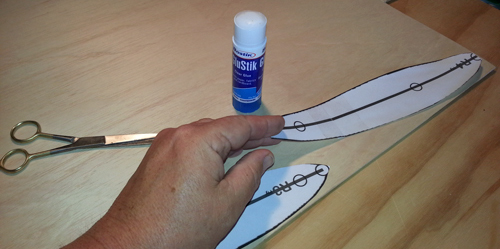 Print the ribs to paper. I only have a standard inkjet printer so many drawings will need to be printed across several pages. I use the 'cut marks' in the printer setup to make sure I can align the sheets correctly. With the sheets taped together, cut out the ribs and glue them to the ply.
____________________
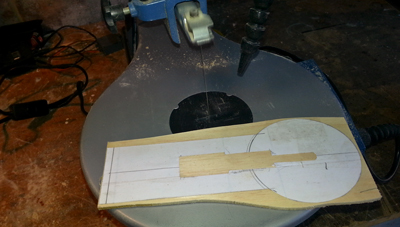
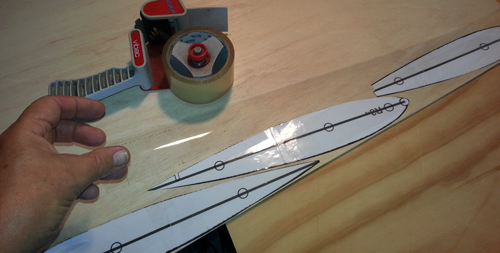 I use sellotape over the the glued paper on ply to stop the paper being lifted by the bandsaw. It just makes it a little easier to track the cut.
____________________
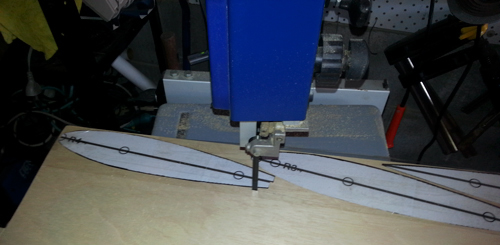 With the rib drawings glued, I cut the strip off and before I cut them out individually, I drill the spar holes.
____________________
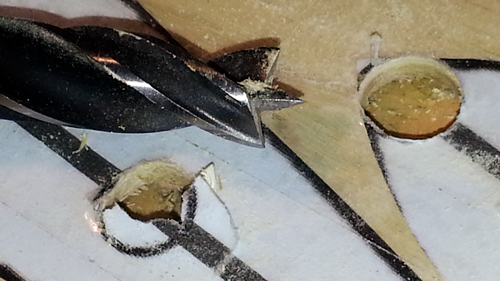
 It is important that the spar holes are accurate. I simply cut a short length of spar tube and found a bolt that fitted snuggly into the tube. I then ground the end of the bolt to a point (centre of the shaft).
 |
 |
|
Line the tube up with the drawing and tap the bolt.
|
This leaves an accurate indent to start drilling.
|
____________________
 If these spar holes drilled accurately, the ribs will line up perfectly.
____________________
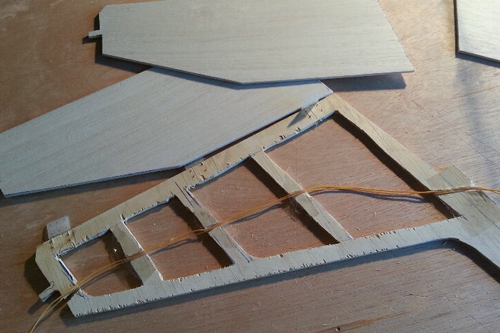
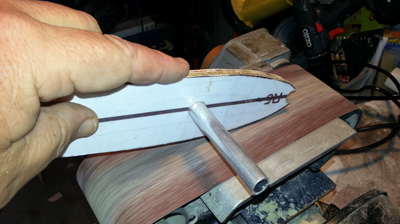 I used the cut out rib as a template for the other wing rib. The tight spar fit allows me to use a short bit of spar aluminium material to hold them together and sand so the two are the same.
Once this is done, tear away the paper and sellotape. No need for extra weight.
____________________
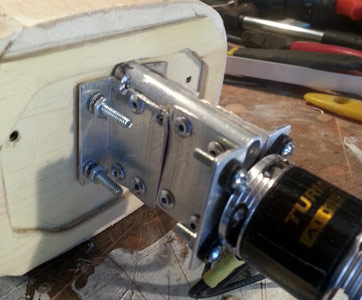
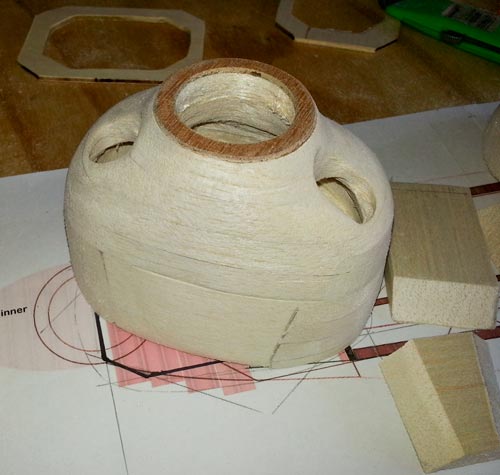
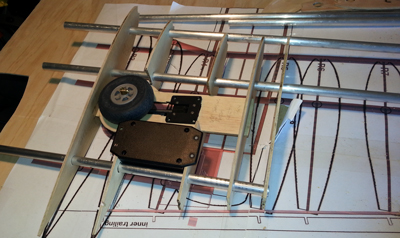
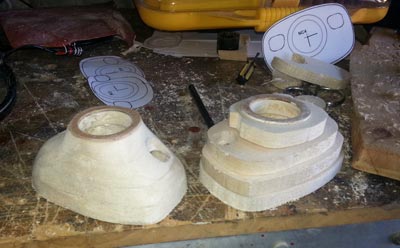
 The wheel well back plate is an integral part of the durability of the aircraft. The legs are so short (as with the full size aircraft) that there is no easy way to install any real shock absorption so I've gone for strength. The load is spread across 4 ply ribs.
We will just have to hone our landing skills.
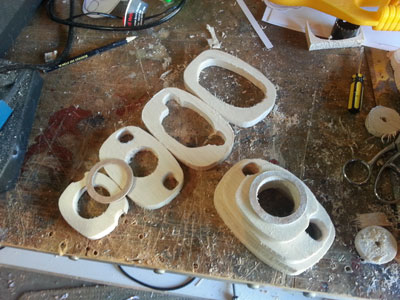
I found the coping saw the best tool for this job, a couple of tight corners in this one and of course, the coping saw is really the only tool to cut out the servo mount hole.
____________________
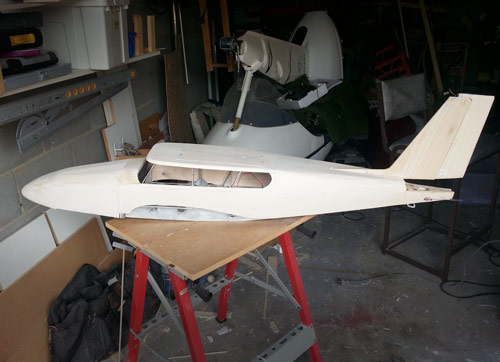
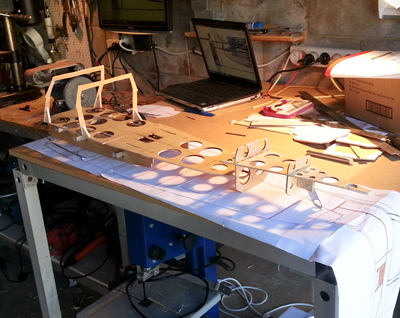
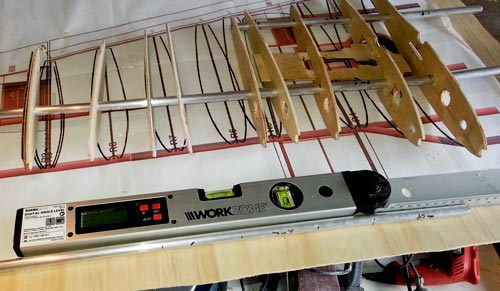
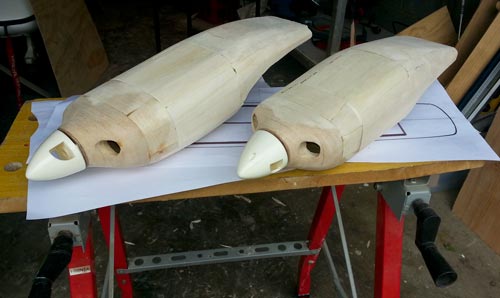
 Finally, a reward, after around 12 hours of work on the wings they start taking some form. I say reward because if you have ever taken on a project like this you will understand the satisfaction you get when you start to see some form.
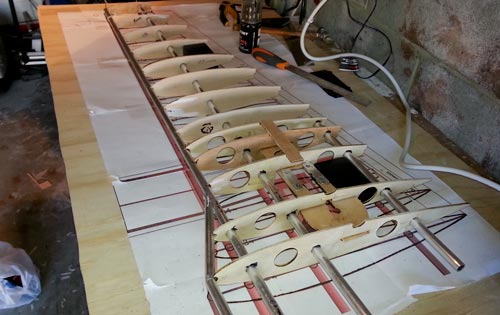
The gear servo fits nicely with good tyre clearance from rib #2. Rib #2 and #5 are slotted to take the wheel well back plate.
Note the black box. During a trip to my local electronics shop I found these light weight electronics boxes. They turned out to be ideal servo mounts but I will go into this more thoroughly in the servo installation section.
____________________
Rhino Testing__
Aerotuff__
Vacuum Forming__
JUST ADDED________
HANGAR_______
Join our online community and upload your pictures, share your build, your flights and all things associated with your interest in the Twin Comanche.

JOIN IN__________
We would love you to get involved. This site has been created for owners and fans of the Twin Comanche. If you have photos or stories or anything you think would be of interest to others, please click the button below to email or register now to become a community member.
![]()
WINGS__________
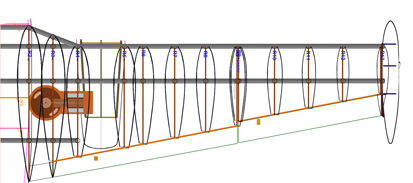
 Aluminum spars give a sturdy Base for wing construction.
Site Photo Album